


How to create a Game Database Website with Blazor
Blazor Tutorial Series


Goal: Video Game Database Website
We will design a video game database website using a public API.
By the end of this tutorial you will learn
- How to write custom HTML, CSS in Blazor environment
- How to write components
- How to write components that communicate with each other
- How to consume an API using the HttpClientFactory
and many other topics.
Disclaimer - this tutorial uses styling from Slobodan Gajic's awesome angular tutorial. All the c# code is custom written for this tutorial.
Prerequisite
We will be using RAWG.io public API for game data. Signup for a free subscription key here
Sourcecode
github.com/zahere-dev/blazor-game-database-..
Setup
Spin up your Visual Studio (2022 preferably) and 'Create A new project'.
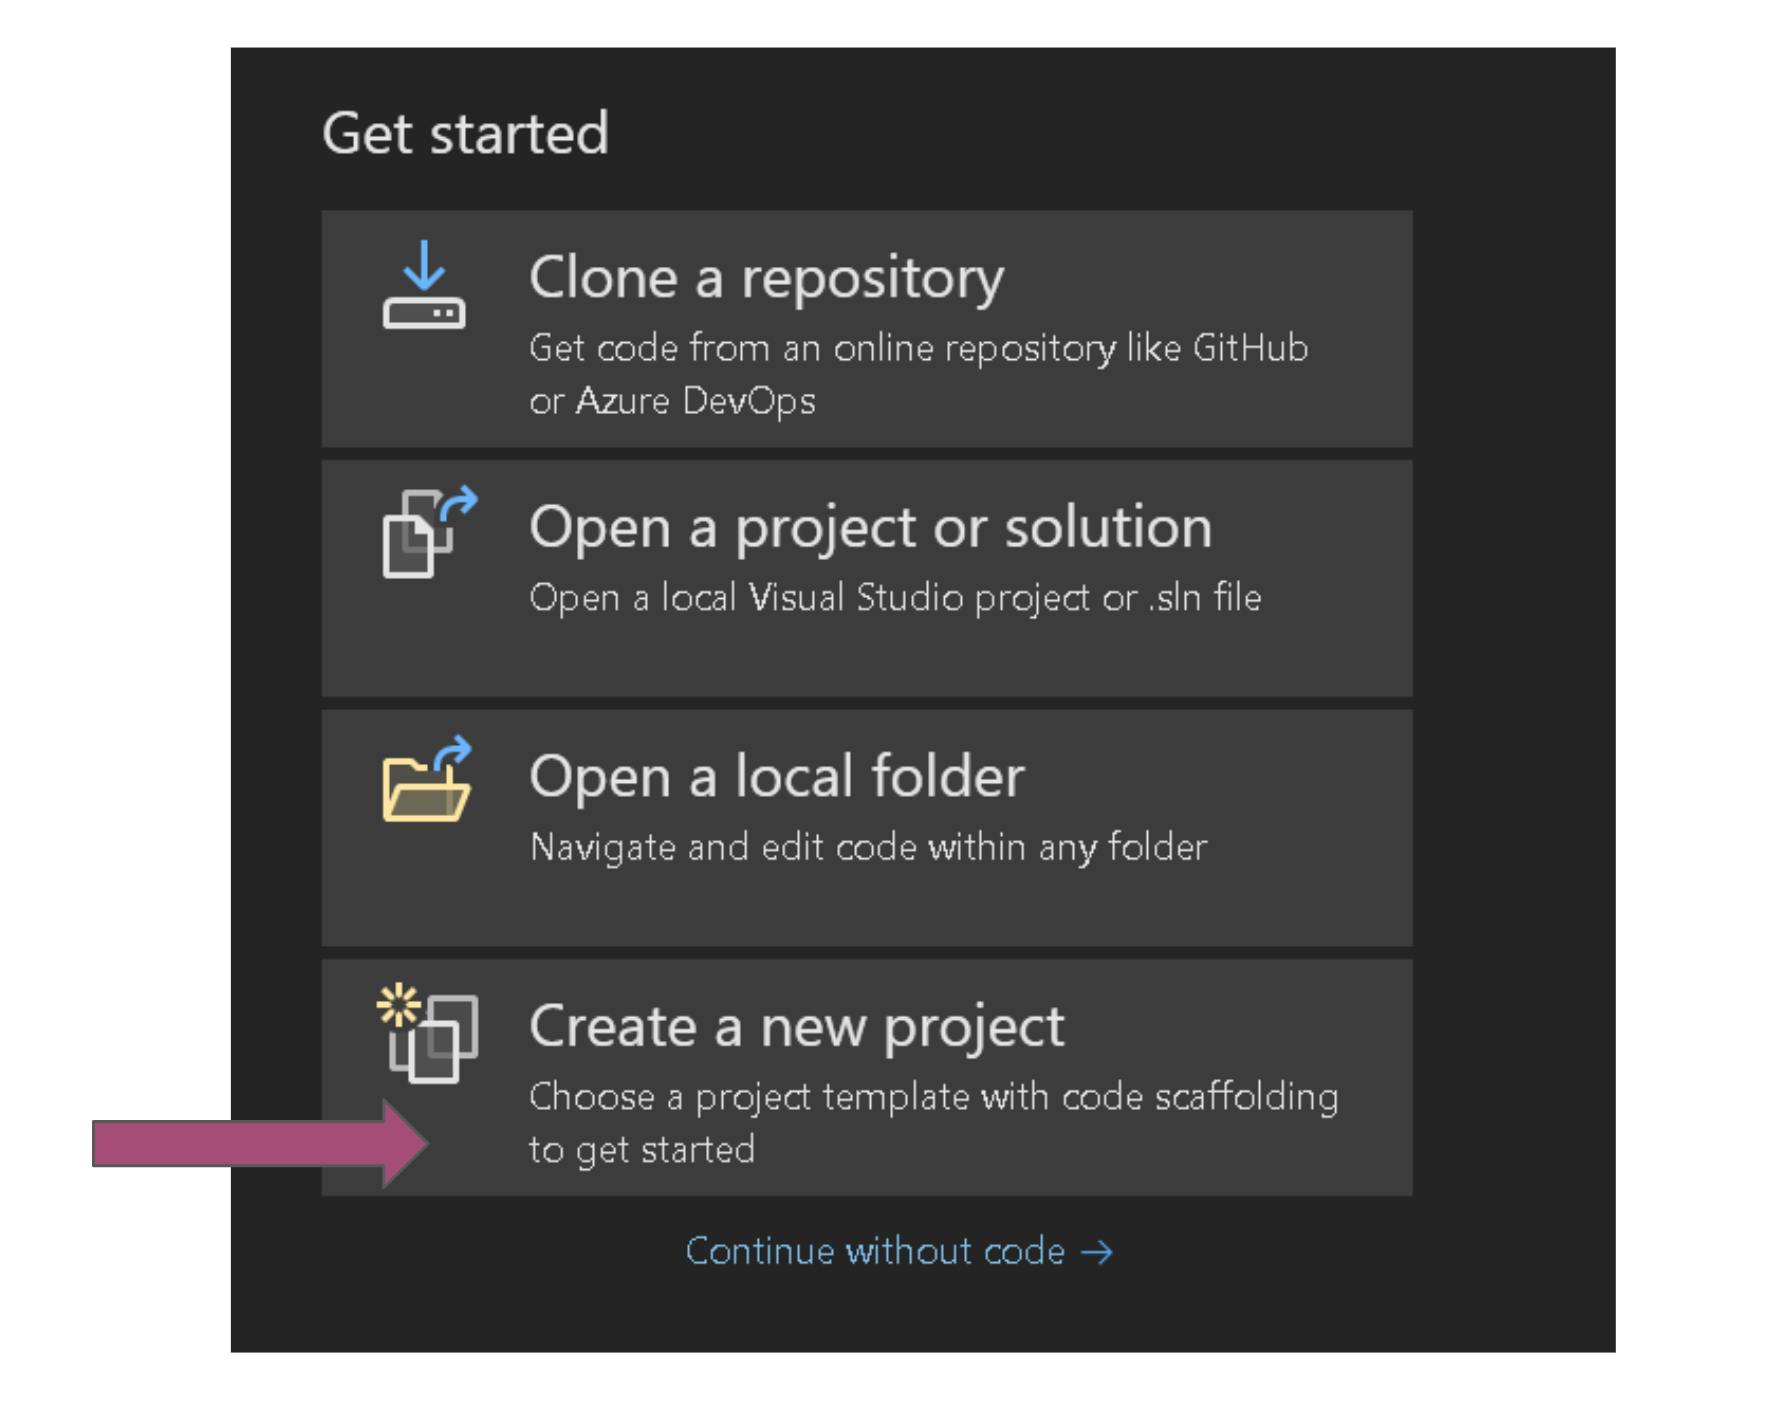
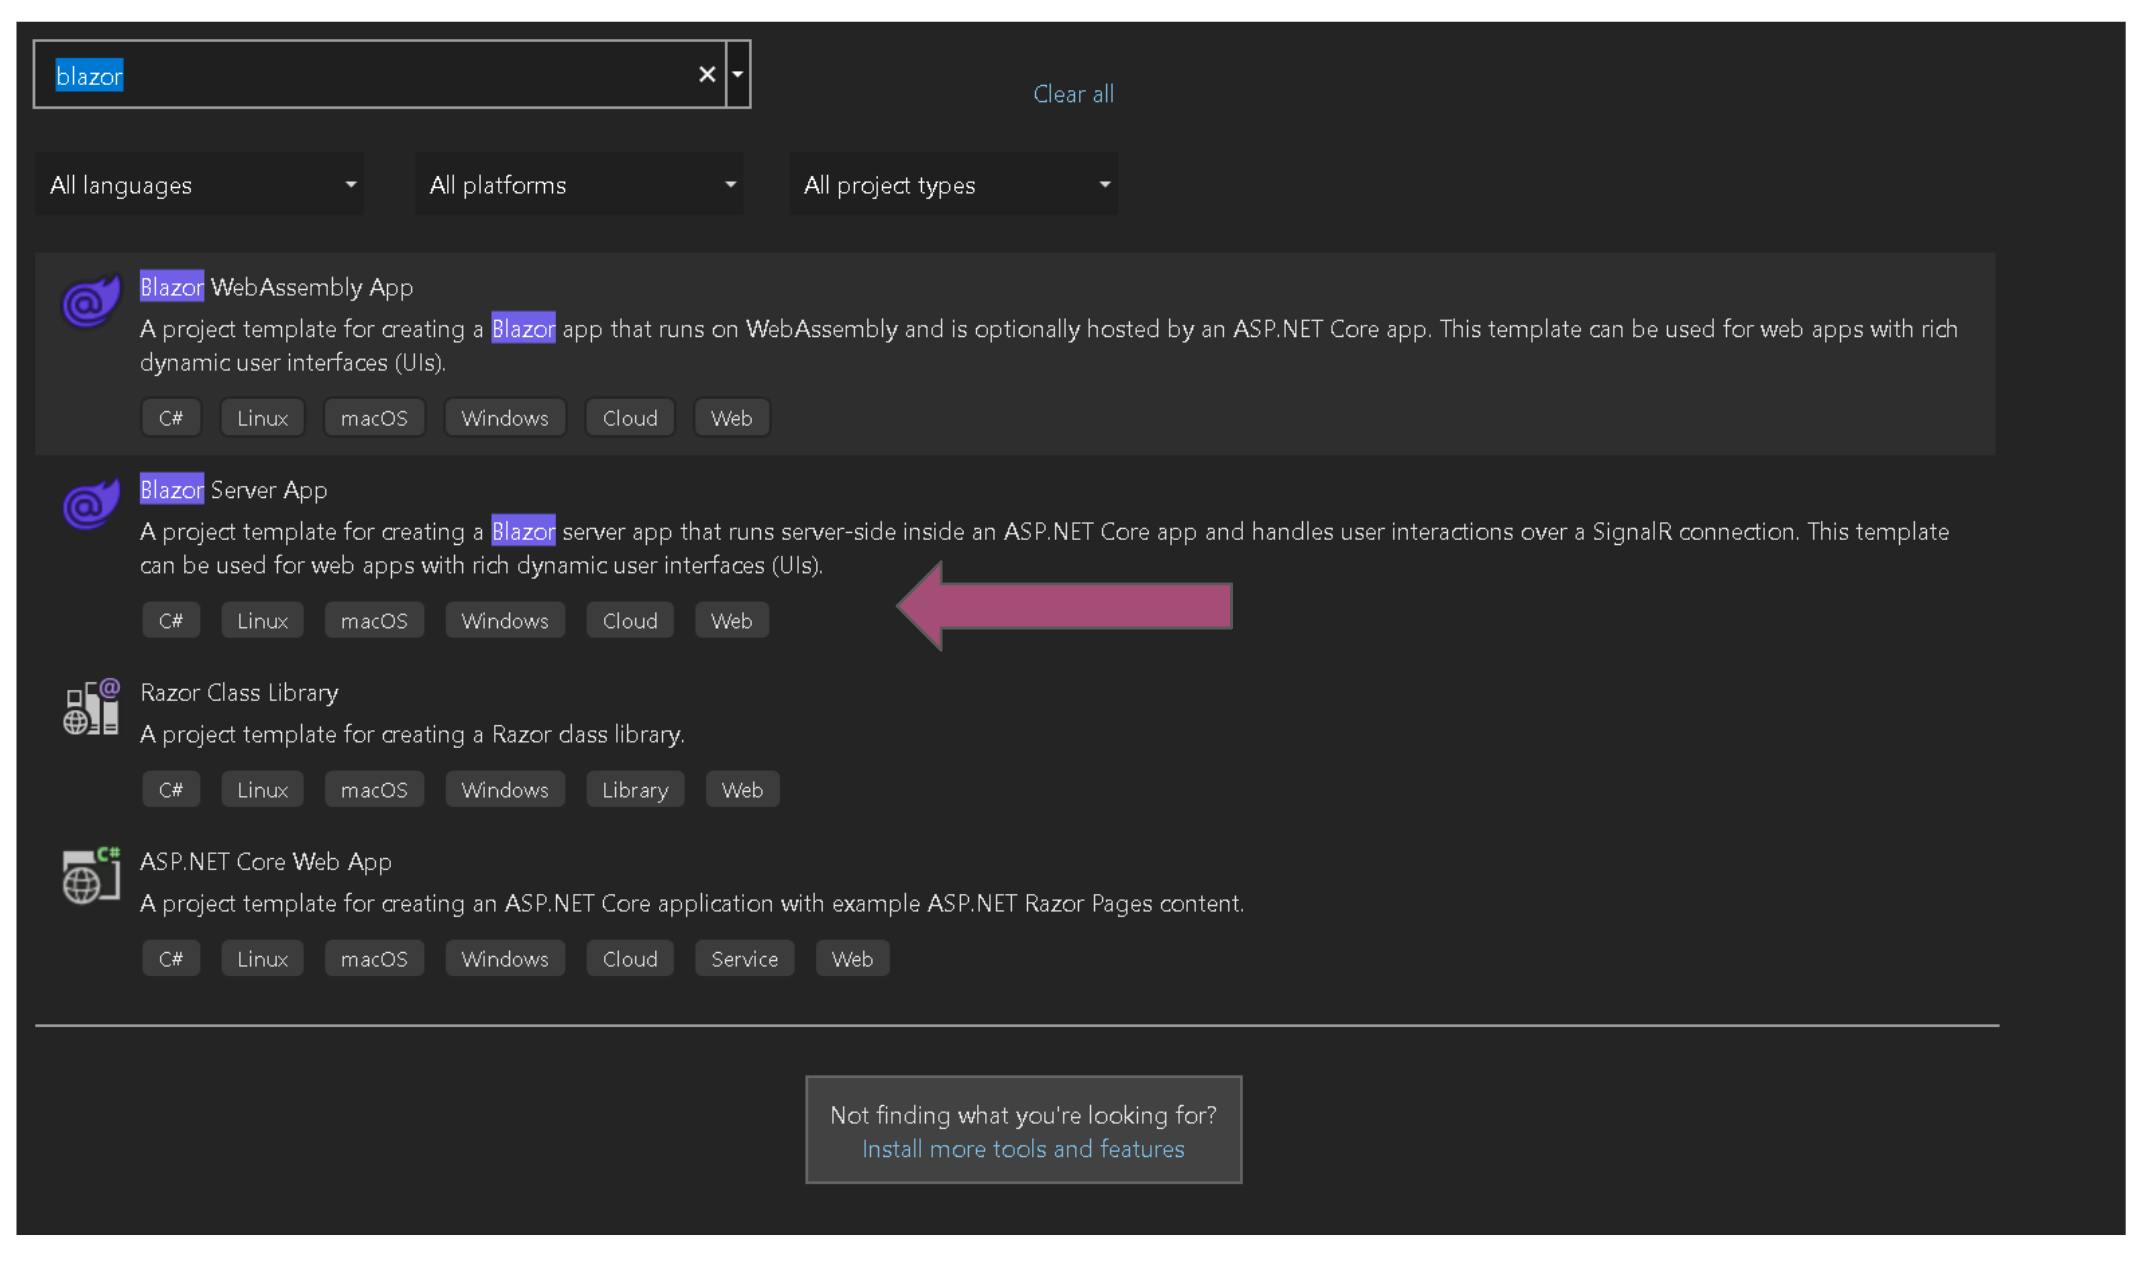
Select 'Blazor Server App' by double clicking the option as shown below.
Enter the project name of your choice.
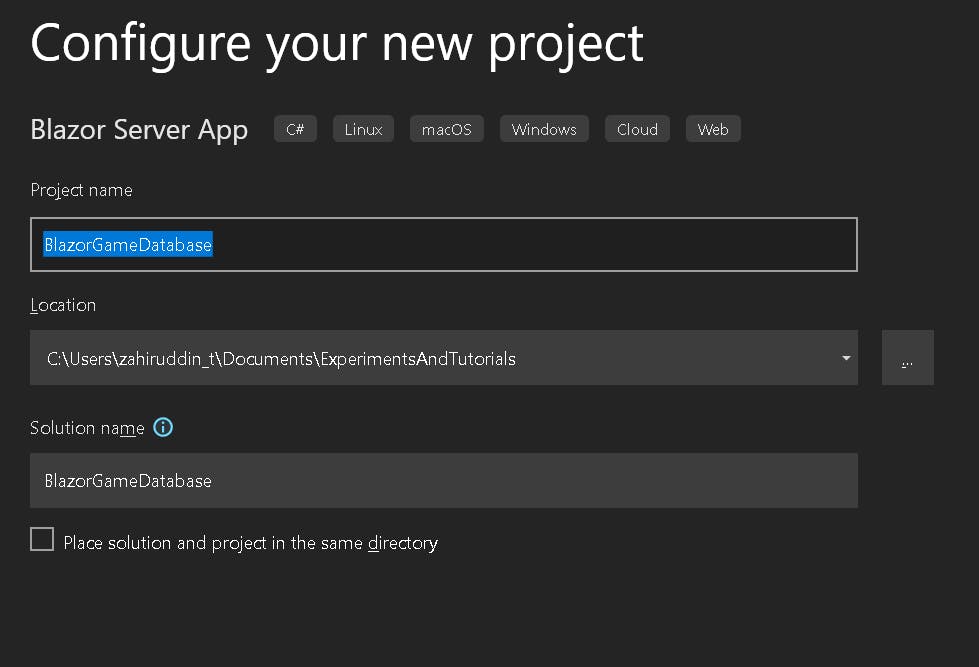
Select .Net6 framework and click on 'Create' in the bottom-right corner.

You should now see boilerplate code generated in the solution explorer.
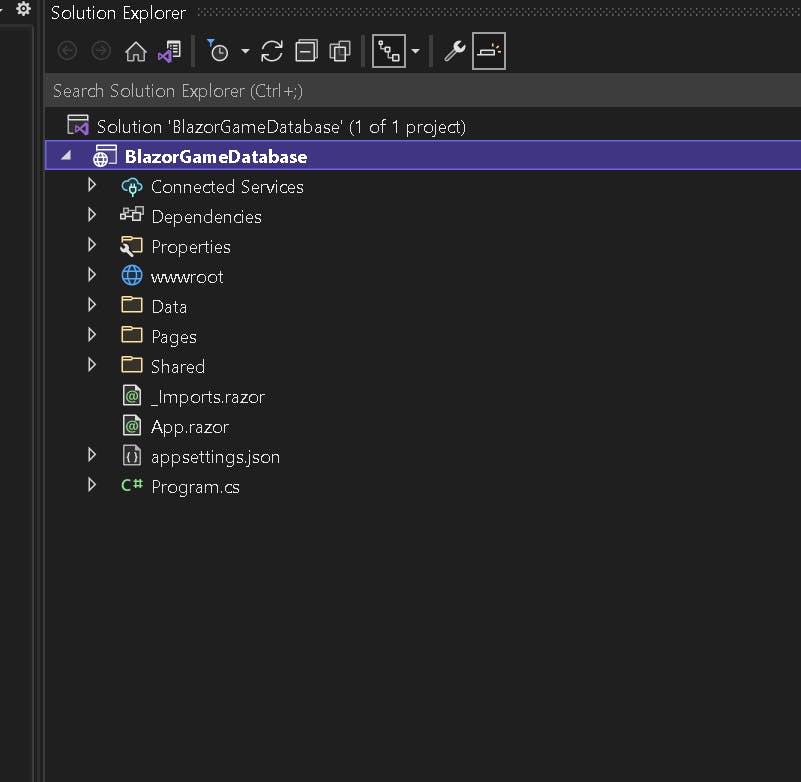
Press F5 to build and run the application.
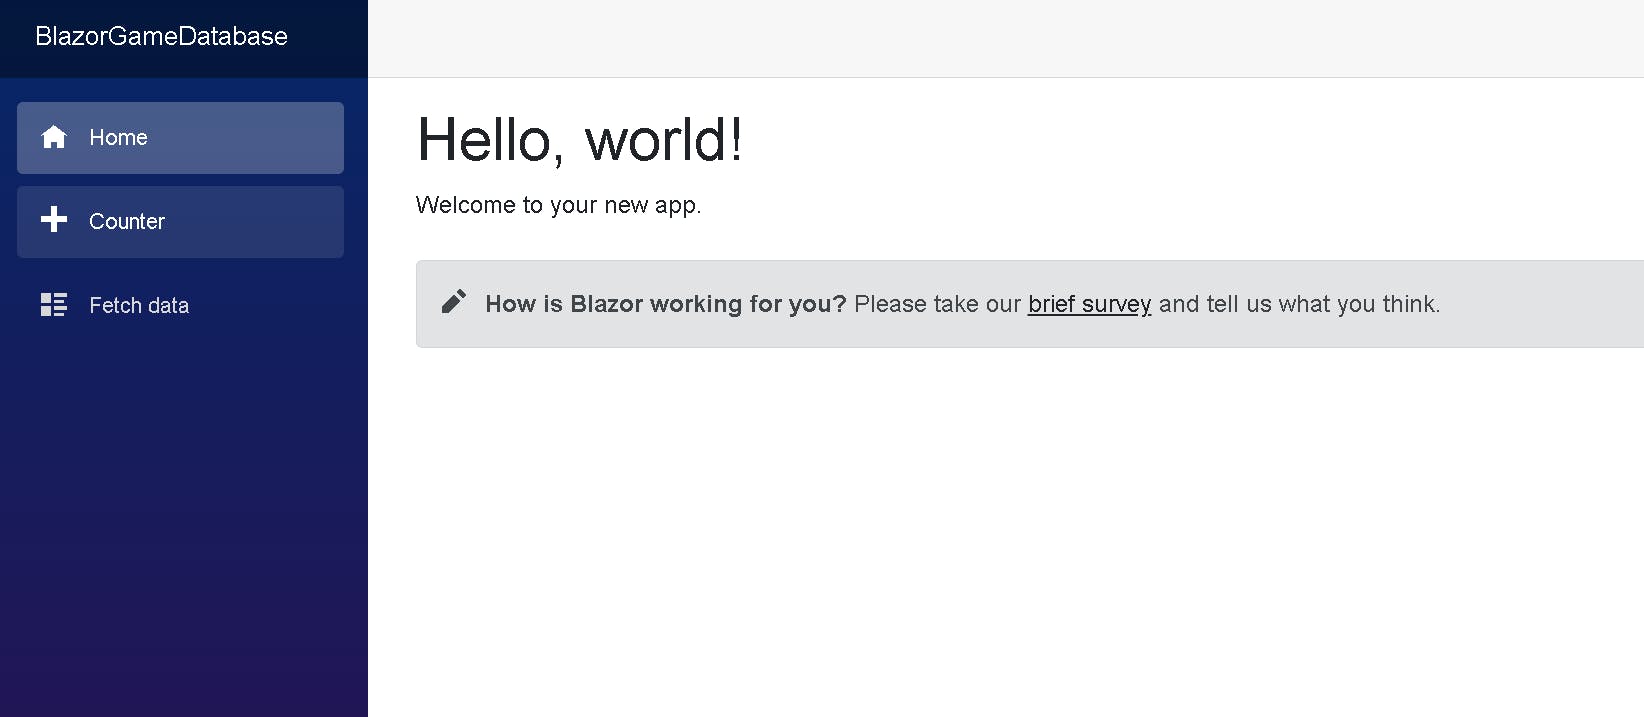
As you can see the boilerplate code comes with its own styling - let's change the style as mentioned in the freeCodeCamp tutorial.
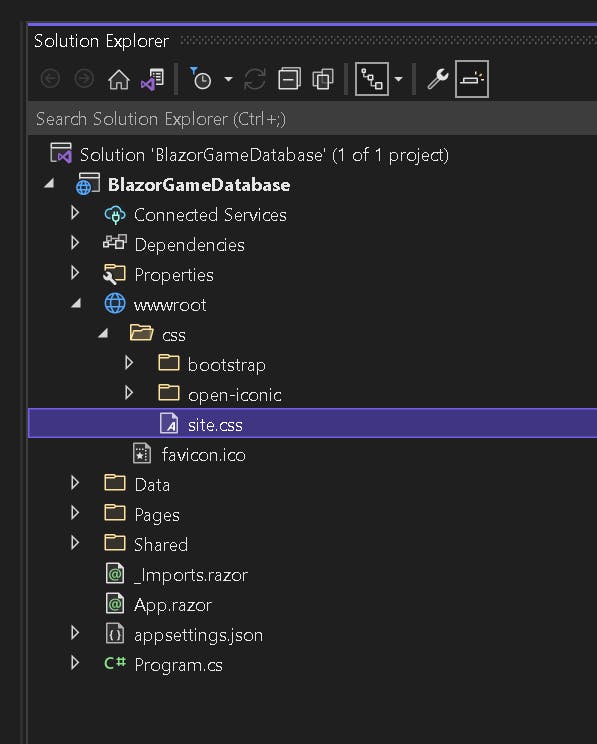
To change the style globally, edit site.css in the wwwroot folder.
Add the below code snippet to
body {
  font-family: Roboto, "Helvetica Neue", sans-serif;
  background-color: #151515;
  padding-top: 60px;
  height: 100%;
}

body * {
  font-family: Roboto, "Helvetica Neue", sans-serif;
  margin: 0;
  padding: 0;
  box-sizing: border-box;
}
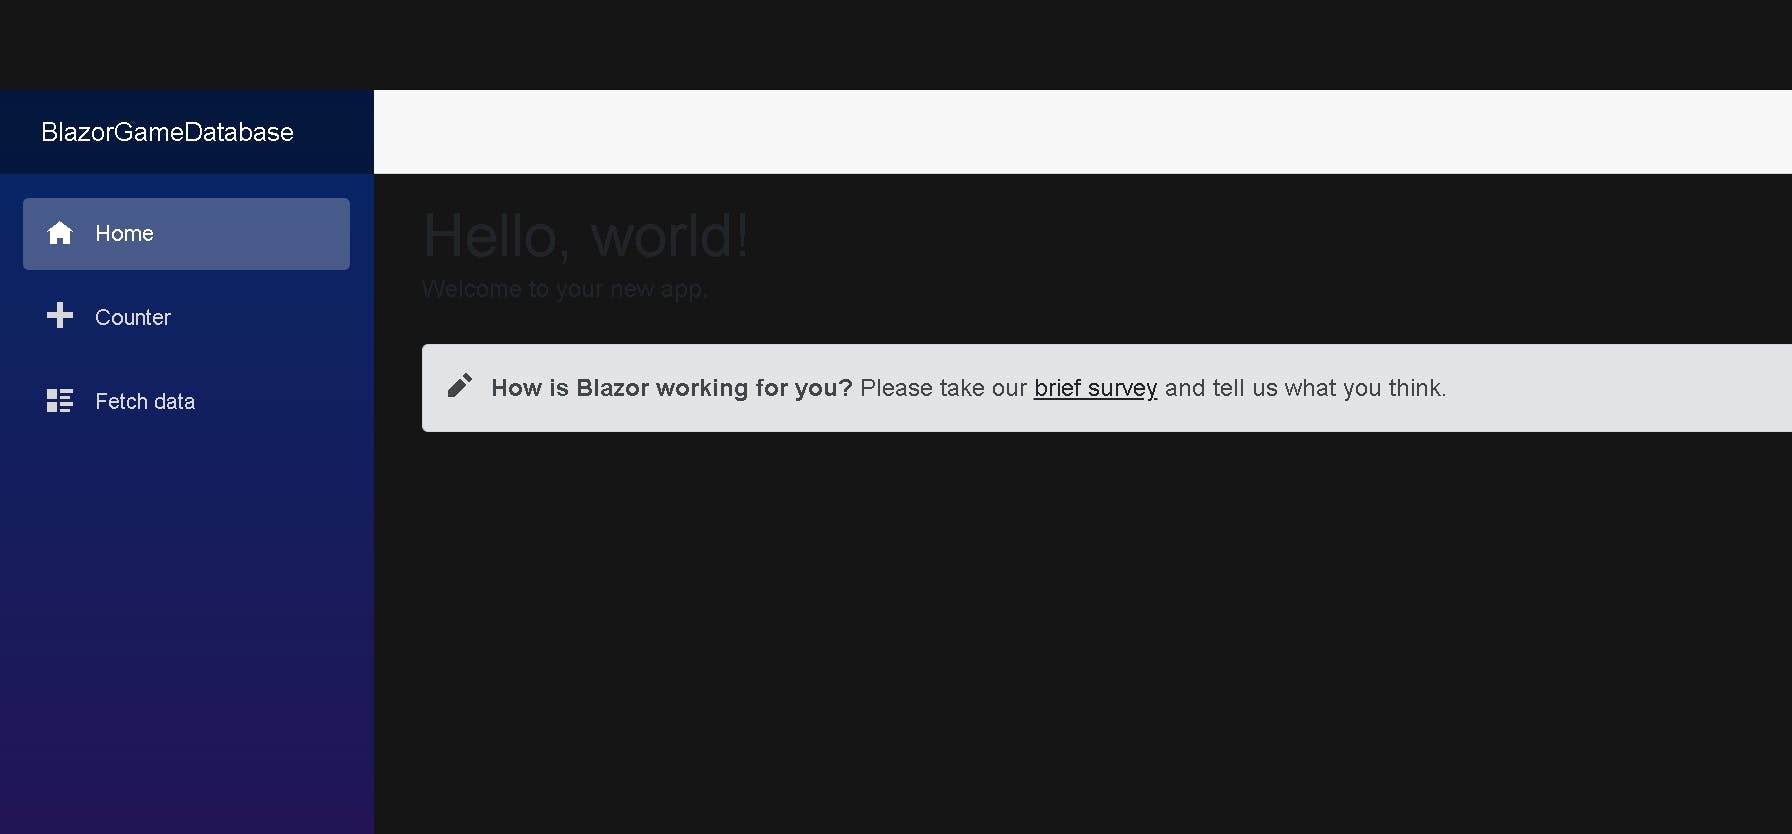
If you run the application again, you'll see the style is a mess. Don't worry we'll fix it in a bit.
Create Components
To keep things simple we will organize the components by creating a 'Components'' directory.
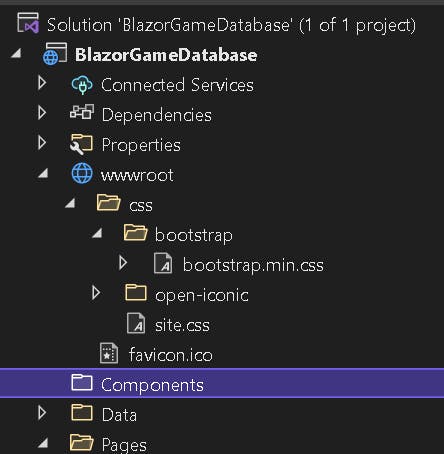
Let's build our first component.
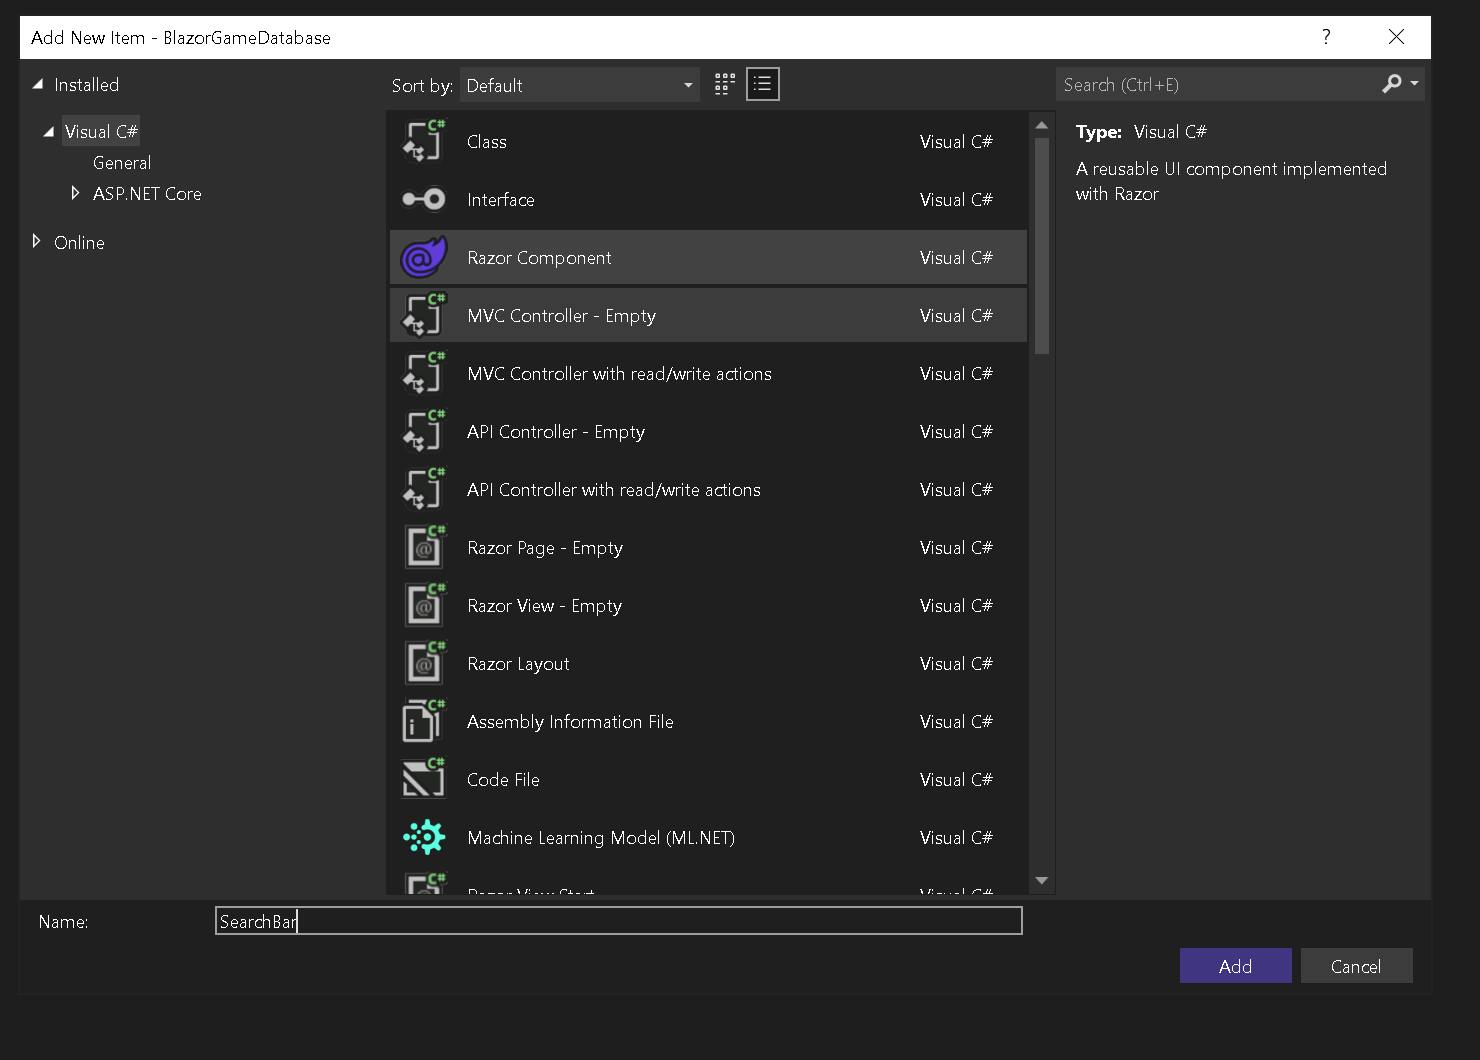
Right-click on the components directory > and add 'Razor component'
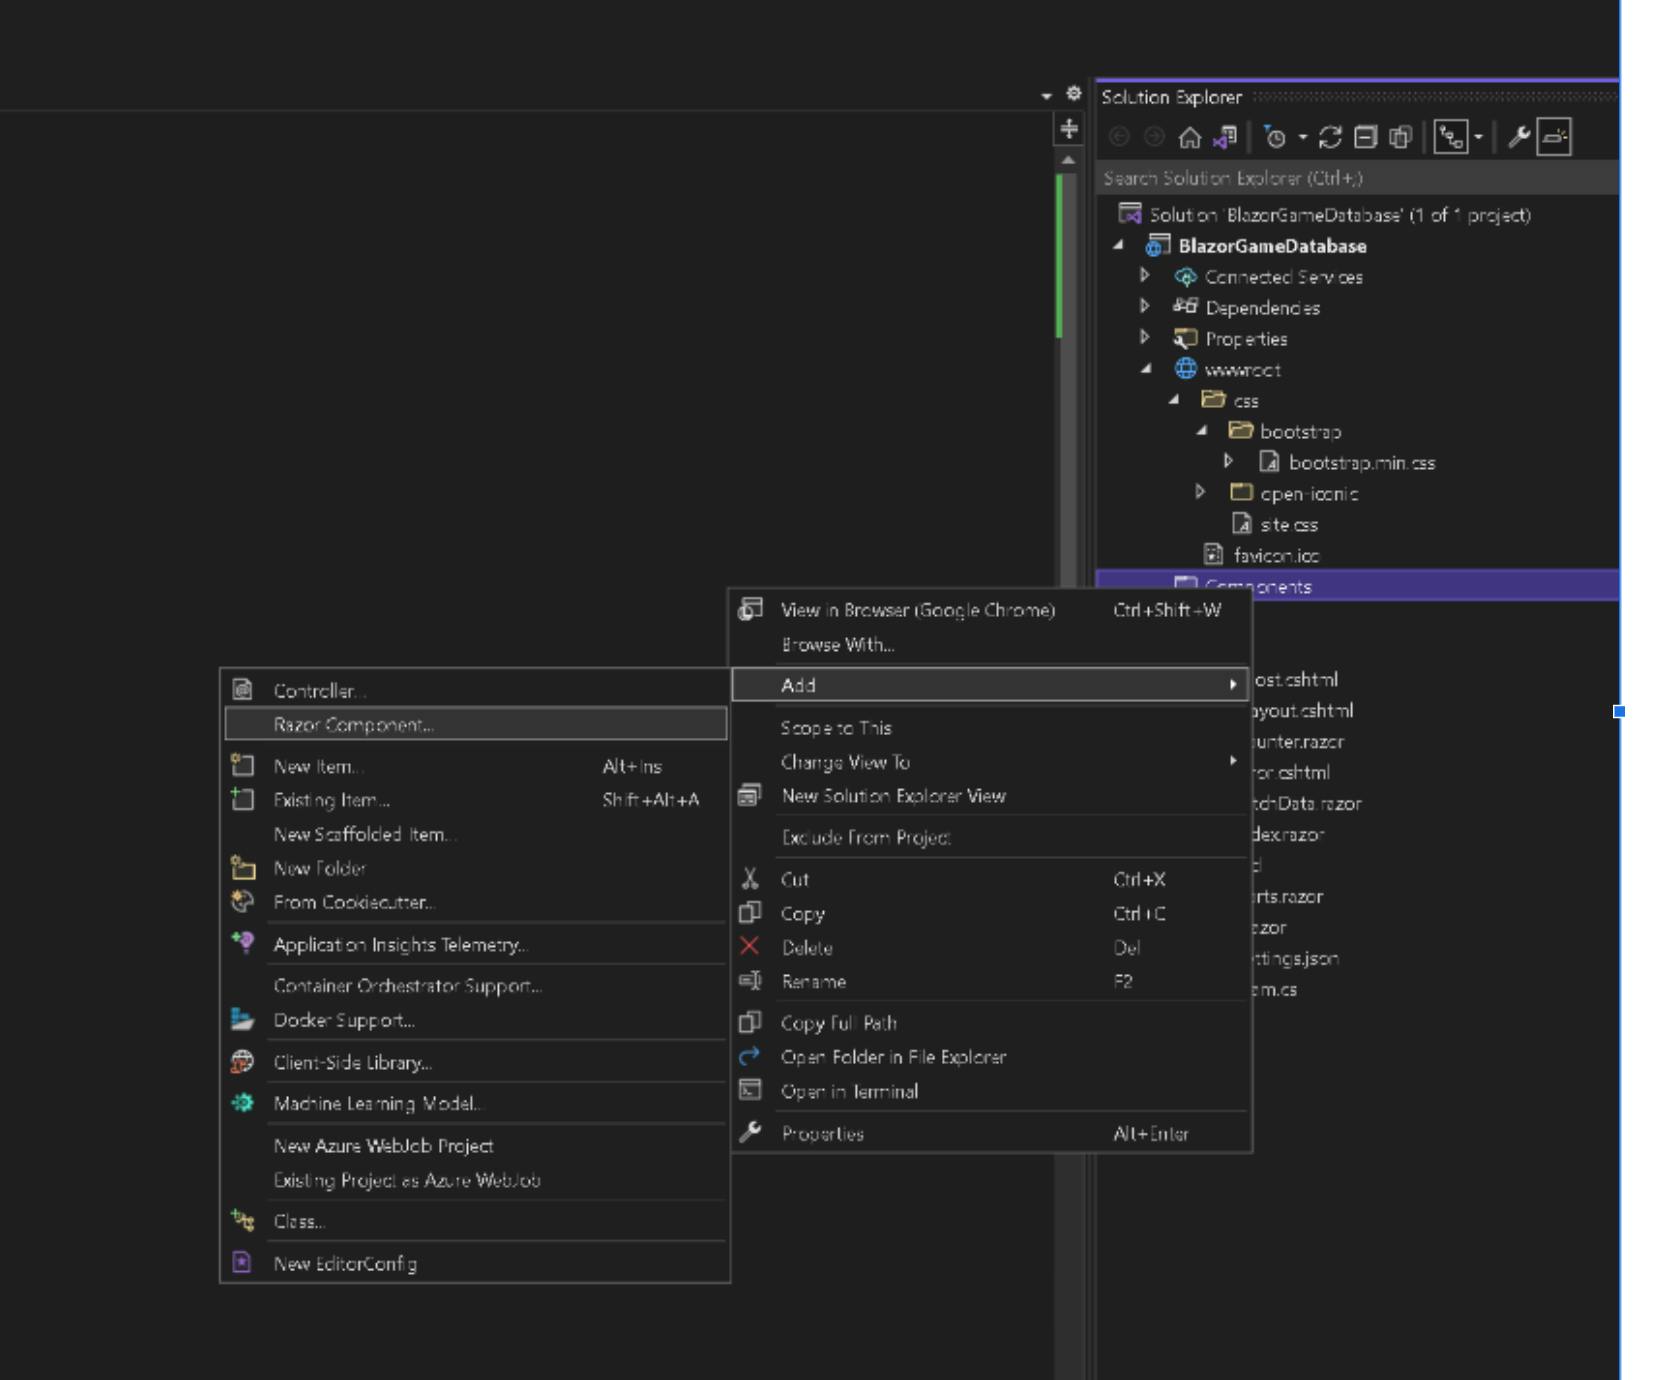
Give the component a name - 'SearchBar' and click 'Add'.
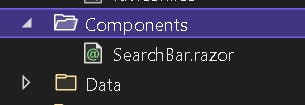
You should now see the 'SearchBar' component created in the Components directory.
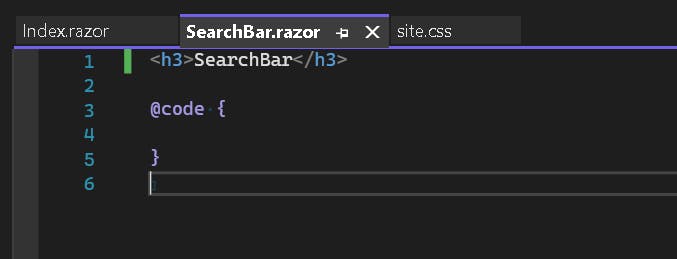
The SearchBar component has boilerplate code generated as well.
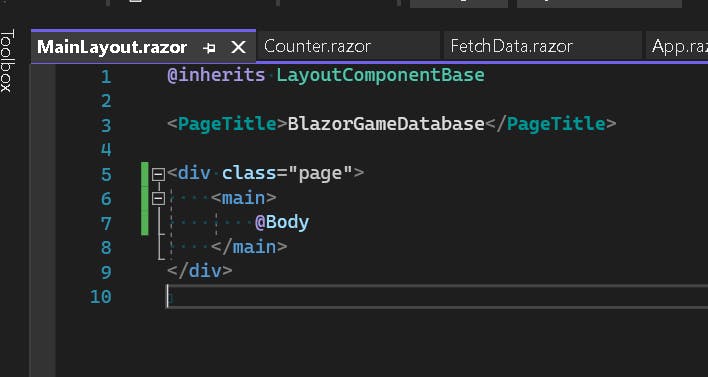
Let's remove the NavMenu and other boilerplate code from the MainLayout.razor component.
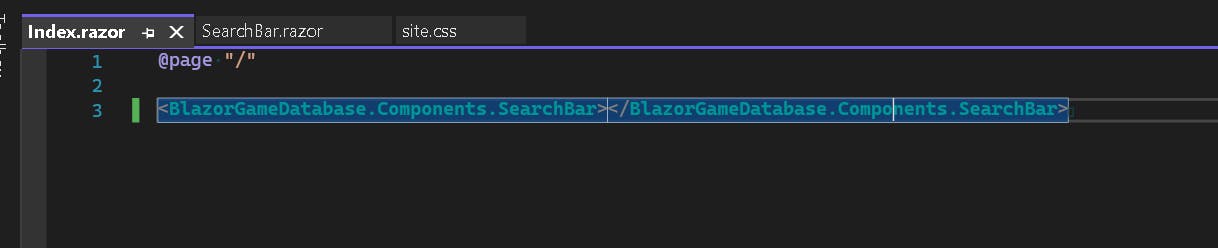
Now let's add the SearchBar component to Index.razor and run the application. Replace the boilerplate HTML code with the SearchBar component reference. If you are an angular developer, this should look familiar to you.
You should see a dark page with all the boilerplate code removed.

To collect the search keys from the user - we need to bind the search value to a model in the Blazor form.
Create a directory called Models and create a class SearchModel in it.
   public class SearchModel
    {
        public string searchKey { get; set; }

    }
Add a form to the SearchBar component
@using BlazorGameDatabase.Models

<div class="search-container">
    <EditForm Model="@searchModel" >
        <span class="logo" href="/">Blazor Video Game Database</span>
        <input id="name" class="search-input" name="search" placeholder="Search 500,000+ games" @bind="searchModel.searchKey" />
        <button class="search-button">Search</button>
    </EditForm>
</div>

@code {
    public SearchModel searchModel = new();

}
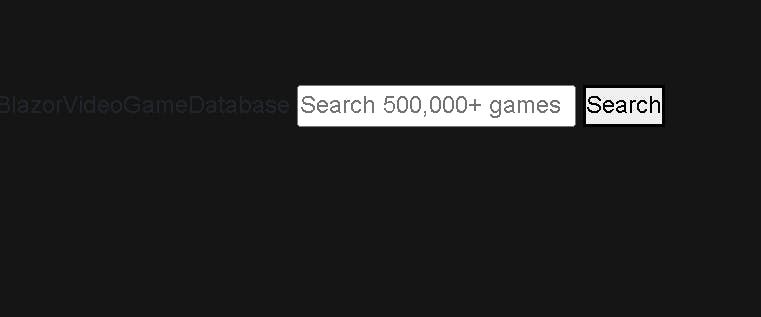
When you run the application again, you should now see the input field and the search button.
Now let's add some CSS to the search component
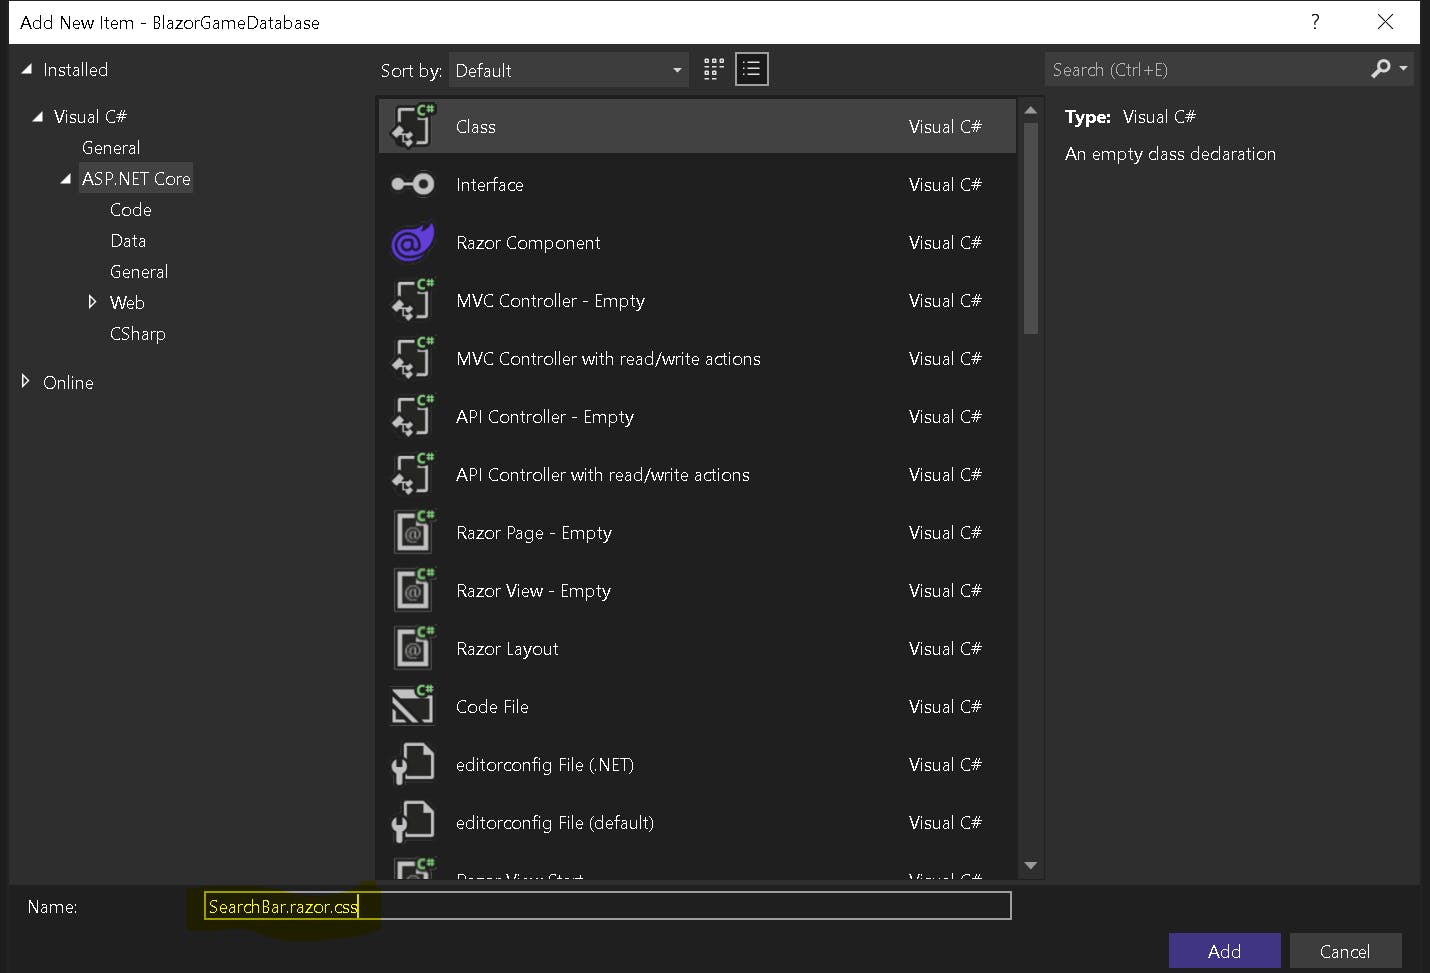
To create a CSS file for the SearchBar component, use the rootname of the component with a CSS extension.
Ex: SearchBar.razor.css
.search-container {
    width: 100%;
    height: 60px;
    background-color: #323a45;
    display: flex;
    justify-content: flex-start;
    align-items: center;
    position: fixed;
    top: 0;
    left: 0;
    z-index: 4;
}

.search-input {
    margin-left: 10px;
    padding: 10px;
    width: 300px;
    border-top-left-radius: 5px;
    border-bottom-left-radius: 5px;
    outline: none;
    border: none;
}

.search-button {
    border: none;
    outline: none;
    background: #3f51b5;
    padding: 10px;
    border-left: 1px solid rgba(0, 0, 0, 0.3);
    border-top-right-radius: 5px;
    border-bottom-right-radius: 5px;
    color: #fff;
    font-weight: 700;
    transition-duration: 0.3s;
    cursor: pointer;
}

.search-button:hover {
    color: #3f51b5;
    background-color: #fff;
    border: 1px solid #3f51b5;
}

.logo {
    margin-left: 10px;
    color: #fff;
    font-weight: 700;
    cursor: pointer;
    text-decoration: none;
}
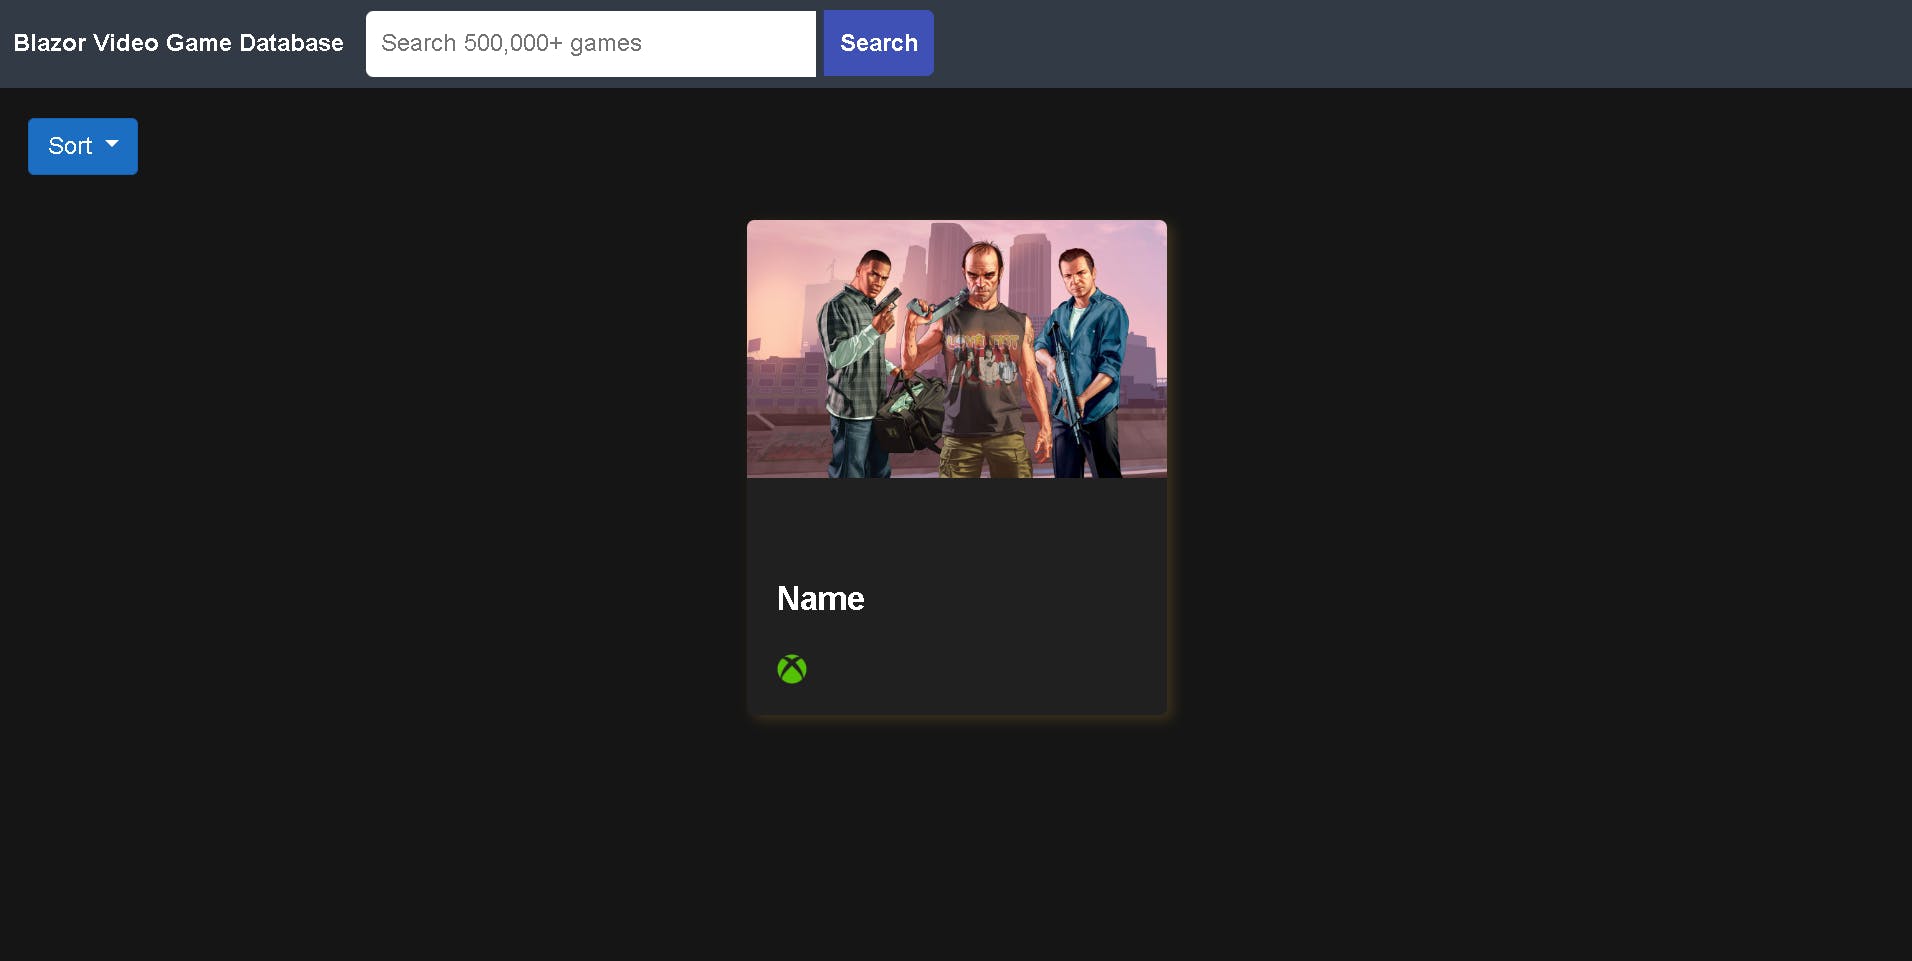
The search bar looks good now.

Home Component
<div class="filters">
    <div class="dropdown">
        <button class="btn btn-primary dropdown-toggle" type="button" id="dropdownMenuButton" data-toggle="dropdown" aria-haspopup="true" aria-expanded="false">
            Sort
        </button>
        <div class="dropdown-menu" aria-labelledby="dropdownMenuButton">
            <a class="dropdown-item" href="#">Name</a>
            <a class="dropdown-item" href="#">Released</a>
            <a class="dropdown-item" href="#">Added</a>
            <a class="dropdown-item" href="#">Created</a>
            <a class="dropdown-item" href="#">Updated</a>
            <a class="dropdown-item" href="#">Rating</a>
            <a class="dropdown-item" href="#">Metacritic</a>
        </div>
    </div>
</div>

  <div class="games">
    <div class="game">
        <div class="game-thumb-container">
            <img
            src="https://media.rawg.io/media/resize/1280/-/games/456/456dea5e1c7e3cd07060c14e96612001.jpg"
            alt="thumbnail"
            class="game-thumbnail"
            />
        </div>
        <div class="game-description">
            <p class="game-name">Name</p>
            <div class="game-platforms">
                <img
                src="https://cdn2.iconfinder.com/data/icons/metro-uinvert-dock/128/XBox_360.png"
                alt="slug"
                class="game-platform"
                />
            </div>
        </div>
    </div>
  </div>


@code {

}

.filters {
    margin: 20px auto;
    padding-left: 20px;
}

.games {
    display: flex;
    flex-wrap: wrap;
    justify-content: center;
    max-width: 1200px;
    margin: 20px auto;
}


.game {
  width: 280px;
  margin: 10px;
  height: 330px;
  overflow: hidden;
  border-radius: 5px;
  background-color: #202020;
  box-shadow: 4px 3px 8px 0px rgb(200 152 44 / 22%);
  transition-duration: 0.3s;
  cursor: pointer;
 }

.game:hover {
    box-shadow: 4px 3px 11px 6px rgb(200 152 44 / 46%);
    transform: translateY(-3px);
}

.game-thumb-container {
    background-color: #000;
    position: relative;
    height: 172px;
    color: #fff;
    text-align: center;
}

.game-thumbnail {
    position: absolute;
    top: 0;
    left: 0;
    right: 0;
    margin: 0 auto;
    height: 172px;
}

.game-description {
    padding: 20px;
    display: flex;
    flex-direction: column;
    justify-content: flex-end;
    height: 157px;
}

.game-name {
    color: #fff;
    font-weight: 700;
    font-size: 22px;
    margin-bottom: 20px;
    white-space: nowrap;
    text-overflow: ellipsis;
    overflow: hidden;
}

.game-platforms {
    display: flex;
}

.game-platform {
    width: 20px;
    margin-right: 10px;
}
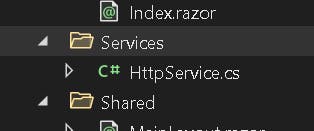
To interact with the API, let's create a directory HttpService with a HttpService.cs class in it.
    public class HttpService
    {
        private readonly IHttpClientFactory _httpClientFactory;
        public HttpService(IHttpClientFactory httpClientFactory)
        {
            _httpClientFactory = httpClientFactory;
        }

        public async Task<string> GetGameData()
        {
            var URL = "https://api.rawg.io/api/games?key=YOUR_KEY_HERE";
            var request = new HttpRequestMessage(HttpMethod.Get, URL);
            var client = _httpClientFactory.CreateClient();
            var response = await client.SendAsync(request);
            if (response.IsSuccessStatusCode)
            {
                return await response.Content.ReadAsStringAsync();
            }
            else
            {
                return string.Empty;
            }
        }
    }
Add the HttpService and HttpClient to program.cs to be injected into the component.
builder.Services.AddSingleton<HttpService>();
builder.Services.AddHttpClient();
Let's build model classes to consume the response of the API.
Create a class file called GameModels.cs in the Models directory and the following classes to it.
namespace BlazorGamdDBFirstImplementation.Models
{

    public class AddedByStatus
    {
        public int yet { get; set; }
        public int owned { get; set; }
        public int beaten { get; set; }
        public int toplay { get; set; }
        public int dropped { get; set; }
        public int playing { get; set; }
    }

    public class EsrbRating
    {
        public int id { get; set; }
        public string name { get; set; }
        public string slug { get; set; }
    }

    public class Filters
    {
        public List<Year> years { get; set; }
    }

    public class Genre
    {
        public int id { get; set; }
        public string name { get; set; }
        public string slug { get; set; }
        public int games_count { get; set; }
        public string image_background { get; set; }
    }

    public class ParentPlatform
    {
        public Platform platform { get; set; }
    }

    public class Platform
    {
        public Platform platform { get; set; }
        public string released_at { get; set; }
        public RequirementsEn requirements_en { get; set; }
        public object requirements_ru { get; set; }
    }

    public class Platform2
    {
        public int id { get; set; }
        public string name { get; set; }
        public string slug { get; set; }
        public object image { get; set; }
        public object year_end { get; set; }
        public int? year_start { get; set; }
        public int games_count { get; set; }
        public string image_background { get; set; }
    }

    public class Rating
    {
        public int id { get; set; }
        public string title { get; set; }
        public int count { get; set; }
        public double percent { get; set; }
    }

    public class RequirementsEn
    {
        public string minimum { get; set; }
        public string recommended { get; set; }
    }

    public class Result
    {
        public int id { get; set; }
        public string slug { get; set; }
        public string name { get; set; }
        public string released { get; set; }
        public bool tba { get; set; }
        public string background_image { get; set; }
        public double rating { get; set; }
        public int rating_top { get; set; }
        public List<Rating> ratings { get; set; }
        public int ratings_count { get; set; }
        public int reviews_text_count { get; set; }
        public int added { get; set; }
        public AddedByStatus added_by_status { get; set; }
        public int metacritic { get; set; }
        public int playtime { get; set; }
        public int suggestions_count { get; set; }
        public DateTime updated { get; set; }
        public object user_game { get; set; }
        public int reviews_count { get; set; }
        public string saturated_color { get; set; }
        public string dominant_color { get; set; }
        public List<Platform> platforms { get; set; }
        public List<ParentPlatform> parent_platforms { get; set; }
        public List<Genre> genres { get; set; }
        public List<Store> stores { get; set; }
        public object clip { get; set; }
        public List<Tag> tags { get; set; }
        public EsrbRating esrb_rating { get; set; }
        public List<ShortScreenshot> short_screenshots { get; set; }
    }

    public class Game
    {
        public int count { get; set; }
        public string next { get; set; }
        public object previous { get; set; }
        public List<Result> results { get; set; }
        public string seo_title { get; set; }
        public string seo_description { get; set; }
        public string seo_keywords { get; set; }
        public string seo_h1 { get; set; }
        public bool noindex { get; set; }
        public bool nofollow { get; set; }
        public string description { get; set; }
        public Filters filters { get; set; }
        public List<string> nofollow_collections { get; set; }
    }

    public class ShortScreenshot
    {
        public int id { get; set; }
        public string image { get; set; }
    }

    public class Store
    {
        public int id { get; set; }
        public Store store { get; set; }
    }

    public class Store2
    {
        public int id { get; set; }
        public string name { get; set; }
        public string slug { get; set; }
        public string domain { get; set; }
        public int games_count { get; set; }
        public string image_background { get; set; }
    }

    public class Tag
    {
        public int id { get; set; }
        public string name { get; set; }
        public string slug { get; set; }
        public string language { get; set; }
        public int games_count { get; set; }
        public string image_background { get; set; }
    }

    public class Year
    {
        public int from { get; set; }
        public int to { get; set; }
        public string filter { get; set; }
        public int decade { get; set; }
        public List<Year> years { get; set; }
        public bool nofollow { get; set; }
        public int count { get; set; }
        public int year { get; set; }
    }


}
We can now consume the API and deserialize the response into the Game class.
We can consume the API when the home page is initialized using the Blazor component lifecycle hook 'OnInitializedAsync'.
To do that, let's create a property 'game ' in the @code block in Home.razor and use the HttpService to interact with the API.
First inject the HttpService in the component
@inject HttpService _httpService;
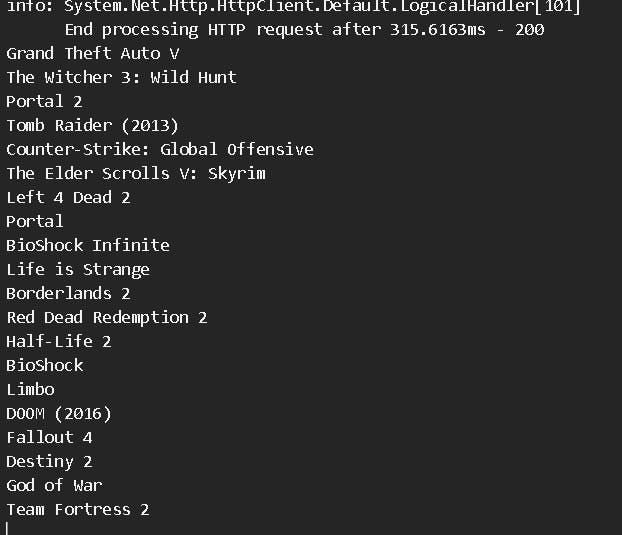
We will iterate over the results to check if the API is working as expected.
 protected override async Task OnInitializedAsync()
    {
        var resp = await _httpService.GetGameData();
        game = JsonConvert.DeserializeObject<Game>(resp);

        foreach(Result item in game.results)
        {
            Console.WriteLine(item.name);

        }

    }
When you run the application you should see game titles printed on the console.
Now that the API is working, let's clean up the code to consume the game result list.
@code {
    private Game? game = new();
    private List<Result> gameList = new();
    protected override async Task OnInitializedAsync()
    {
        var resp = await _httpService.GetGameData();
        game = JsonConvert.DeserializeObject<Game>(resp);
        gameList = game.results;
    }
}
<div class="games">
    @if (@gameList.Count > 0)
    {
        @foreach (var gameDetails in @gameList)
        {
            <div class="game">
                <div class="game-thumb-container">
                    <img src="@gameDetails.background_image"
                 alt="thumbnail"
                 class="game-thumbnail" />
                </div>
                <div class="game-description">
                    <p class="game-name">@gameDetails.name</p>
                    <div class="game-platforms">
                        @foreach (var platformDetails in @gameDetails.platforms)
                        {
                            <img src="@platformDetails.platform.image_background"
                             alt="@platformDetails.platform.image_background"
                             class="game-platform" />
                        }
                    </div>
                </div>
            </div>
        }
    }
</div>
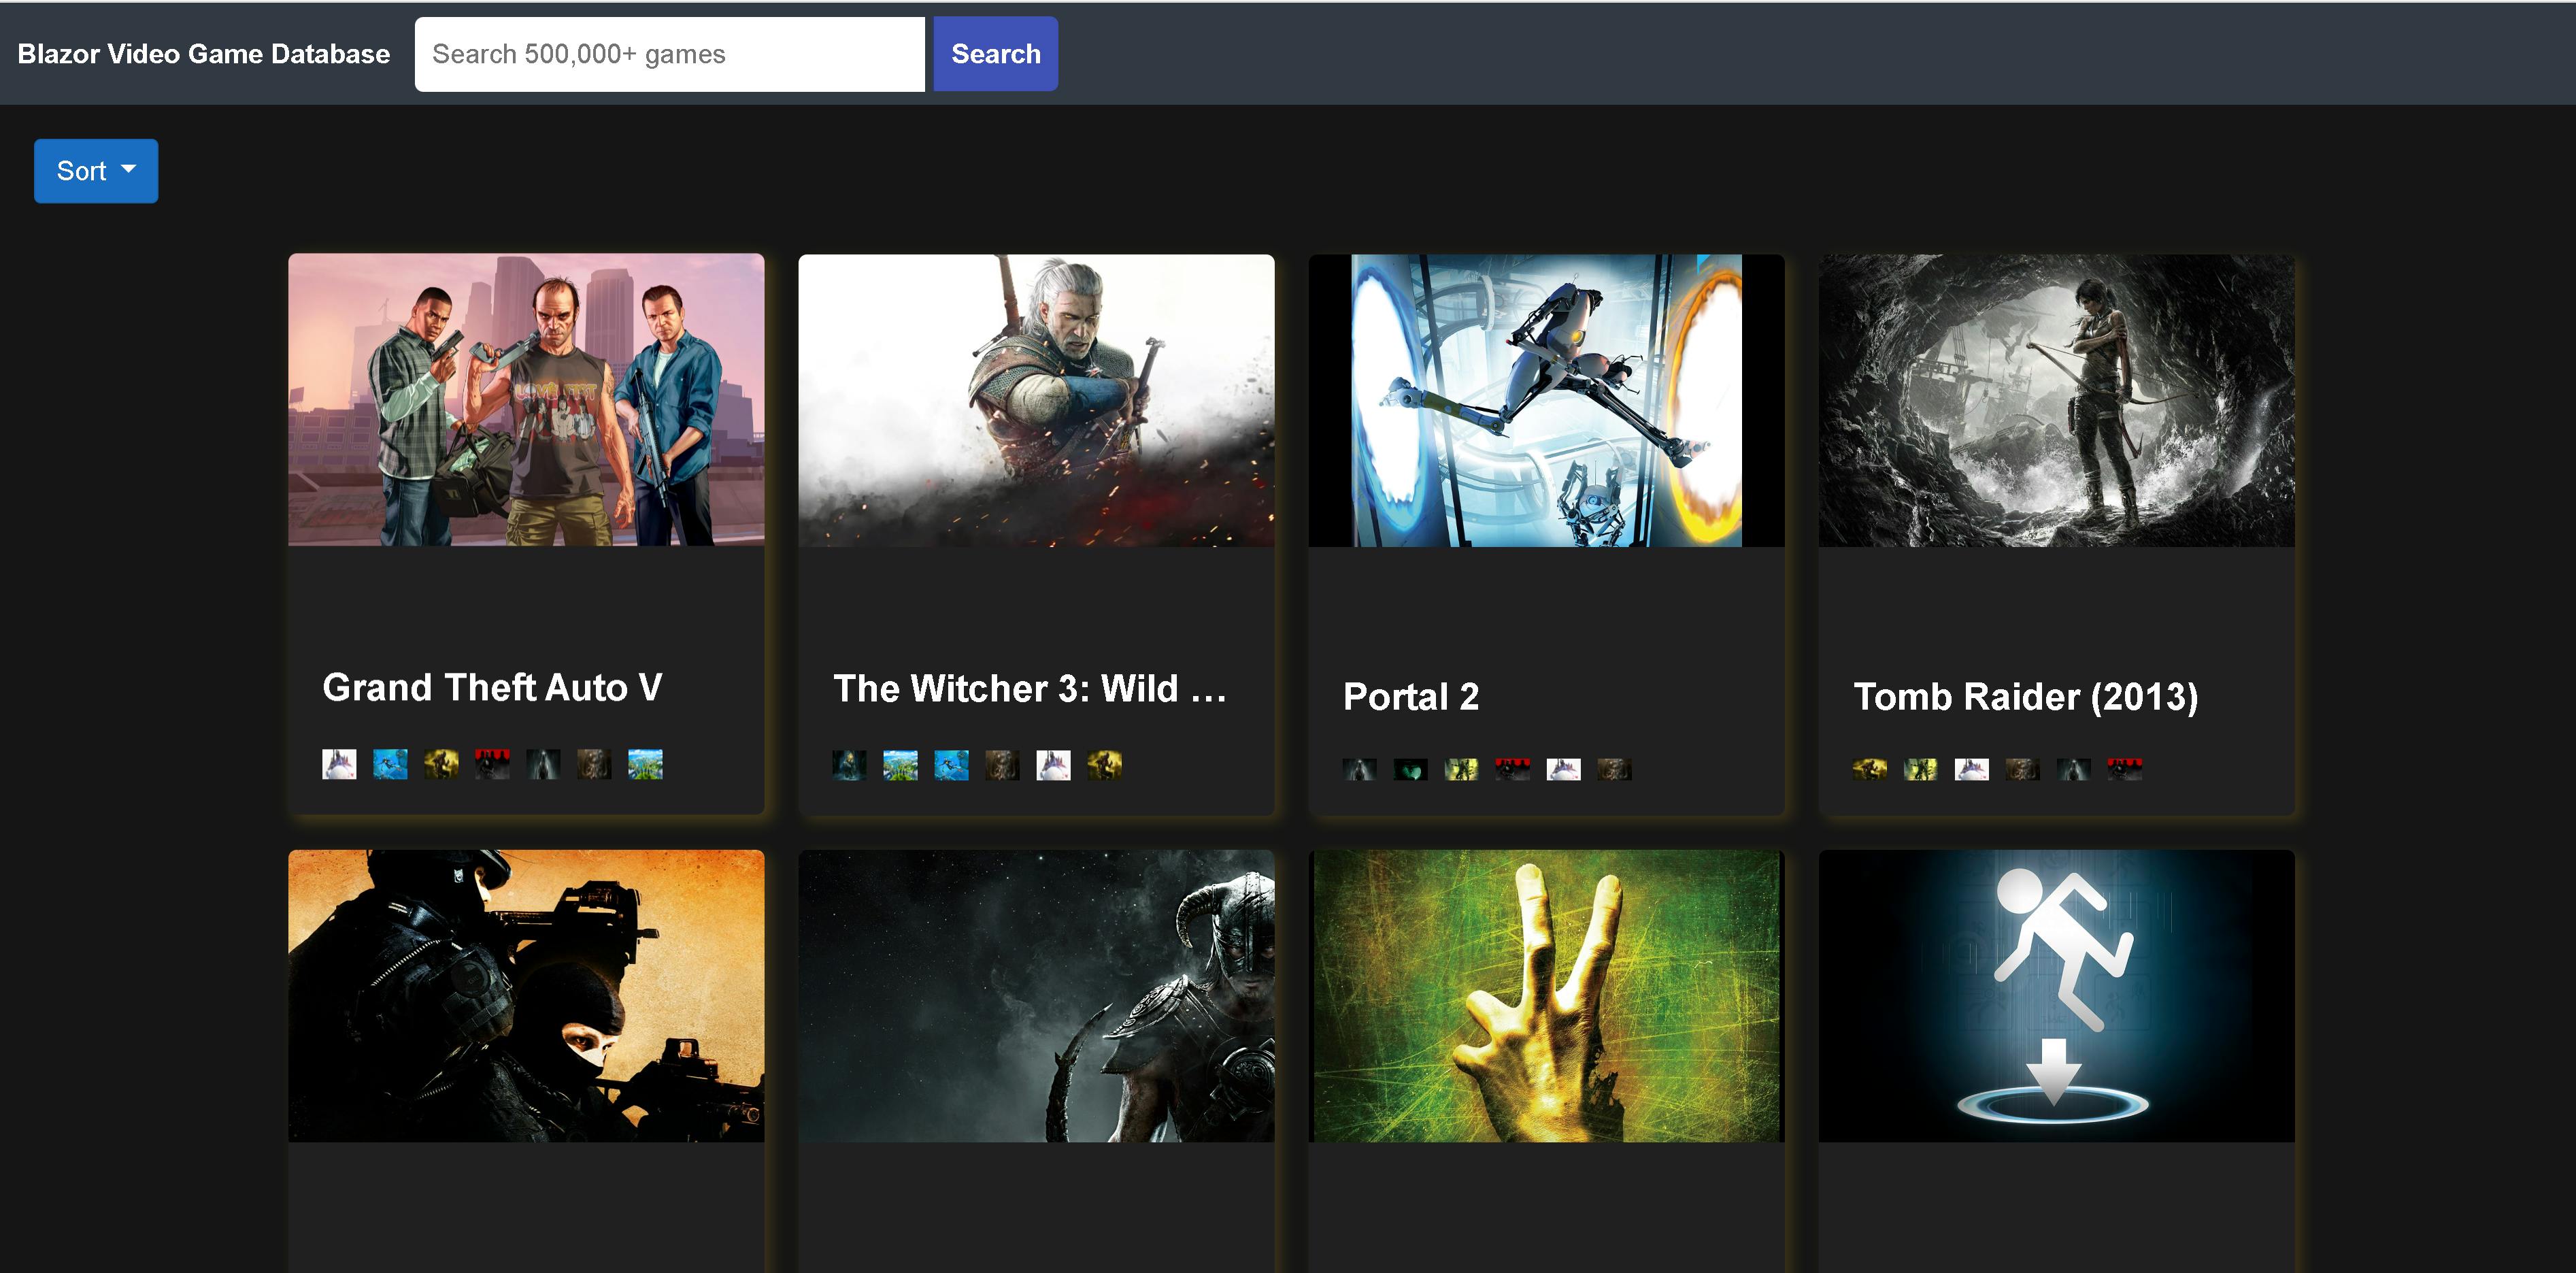
Run the app again and you should see beautiful tiles.
Sort
We want the data to change on selection of the sorting order. The bootstrap snippet needs to undergo a change to accommodate Blazor events.
We will create a list of ordering items and then iterate over them to build the drop-down item of the drop-down list.
We will also initialize a string property sortWord with "Name" as default sort item and use the property to capture the selected sort item.
Add the list property to @code block.
private string sortWord = "Name";
private string[] sortItems = { "Name", "Released", "Added", "Created", "Updated", "Rating", "Metacritic" };
Update the dropdown HTML snippet with the onclick and onmousedown events as below.
The onmousedown event will assign the selected word to the sortWord property/
The onclick event will invoke the GetGameDataFromAPI method.
    <div class="filters">
    <div class="dropdown">
        <button class="btn btn-primary dropdown-toggle" type="button" id="dropdownMenuButton" data-toggle="dropdown" aria-haspopup="true" aria-expanded="false">
            @sortWord
        </button>
        <div class="dropdown-menu" aria-labelledby="dropdownMenuButton">
            @foreach (var word in @sortItems)
            {
                <a class="dropdown-item" @onclick="GetGameDataFromAPI" @onmousedown="(async (e) => sortWord = word)">@word</a>
            }
        </div>
    </div>
</div>
SearchBar
To trigger the API on the Home component from the SearchBar component is tricky as they are completely independent components without any relationship.
To mitigate this we will write a Notifier service and inject it into the relevant components.
Create a class file NotifierService in the Services directory.
  public class NotifierService
    {
        public NotifierService()
        {

        }

        string searchKey;
        public string SearchKey
        {
            get => searchKey;
            set
            {
                if (searchKey != value)
                {
                    searchKey = value;

                    if (Notify != null)
                    {
                        Notify?.Invoke();
                    }
                }
            }
        }
        public event Func<Task> Notify;
    }
Register the NotifierService in program.cs
builder.Services.AddScoped<NotifierService>();
Update SearchBar.razor to send the search notification.
  @using BlazorGamdDBFirstImplementation.Services
@using BlazorGamdDBFirstImplementation.Models
@inject NotifierService Notifier
@implements IDisposable

<div class="search-container">
    <EditForm Model="@searchModel">
        <span class="logo" href="/">Blazor Video Game Database</span>
        <input id="name" class="search-input" name="search" placeholder="Search 500,000+ games" @bind="searchModel.searchKey" />
        <button class="search-button">Search</button>
    </EditForm>
</div>

@if(!string.IsNullOrEmpty(@searchModel.searchKey))
{
    Notifier.SearchKey = @searchModel.searchKey;
    <h1>@Notifier.SearchKey</h1>
}

@code {
    public SearchModel searchModel = new();

    public async Task OnNotify()
    {
        await InvokeAsync(() =>
        {
            StateHasChanged();
        });
    }
    protected override void OnInitialized()
    {
        Notifier.Notify += OnNotify;
    }
    public void Dispose()
    {
        Notifier.Notify -= OnNotify;
    }

}
Update Home.razor to receive the search notification;
  @code {
    private string sortWord = "Name";
    private string _searchKey = string.Empty;
    private Game? game = new();
    private List<Result> gameList = new();


    private string[] sortItems = { "Name", "Released", "Added", "Created", "Updated", "Rating", "Metacritic" };

    protected override async Task OnInitializedAsync()
    {
        await GetGameDataFromAPI();
        Notifier.Notify += OnNotify;
    }

    private async Task GetGameDataFromAPI()
    {
        try
        {
            Console.WriteLine($"sortWord {sortWord}");
            var resp = await _httpService.GetGameData(sortWord, SearchKey);
            game = JsonConvert.DeserializeObject<Game>(resp);
            gameList = game.results;
        }
        catch (Exception e)
        {
            Console.WriteLine(e);
        }
    }

    public async Task OnNotify()
    {
        await InvokeAsync(() =>
        {
            _searchKey = Notifier.SearchKey;
            StateHasChanged();
        });
    }


    public void Dispose()
    {
        Notifier.Notify -= OnNotify;
    }

    public string SearchKey
    {
        get => _searchKey;
        set
        {
            _searchKey = value;
        }
    }

}
After you build and run the app - all components should work well and you should have dynamic tiles based on search queries and sorting order.

If you liked what you read, please subscribe for interesting articles on Blazor, Web Performance, Usability and Frontend System Design.